Connect a Camera
Using a DSLR Camera
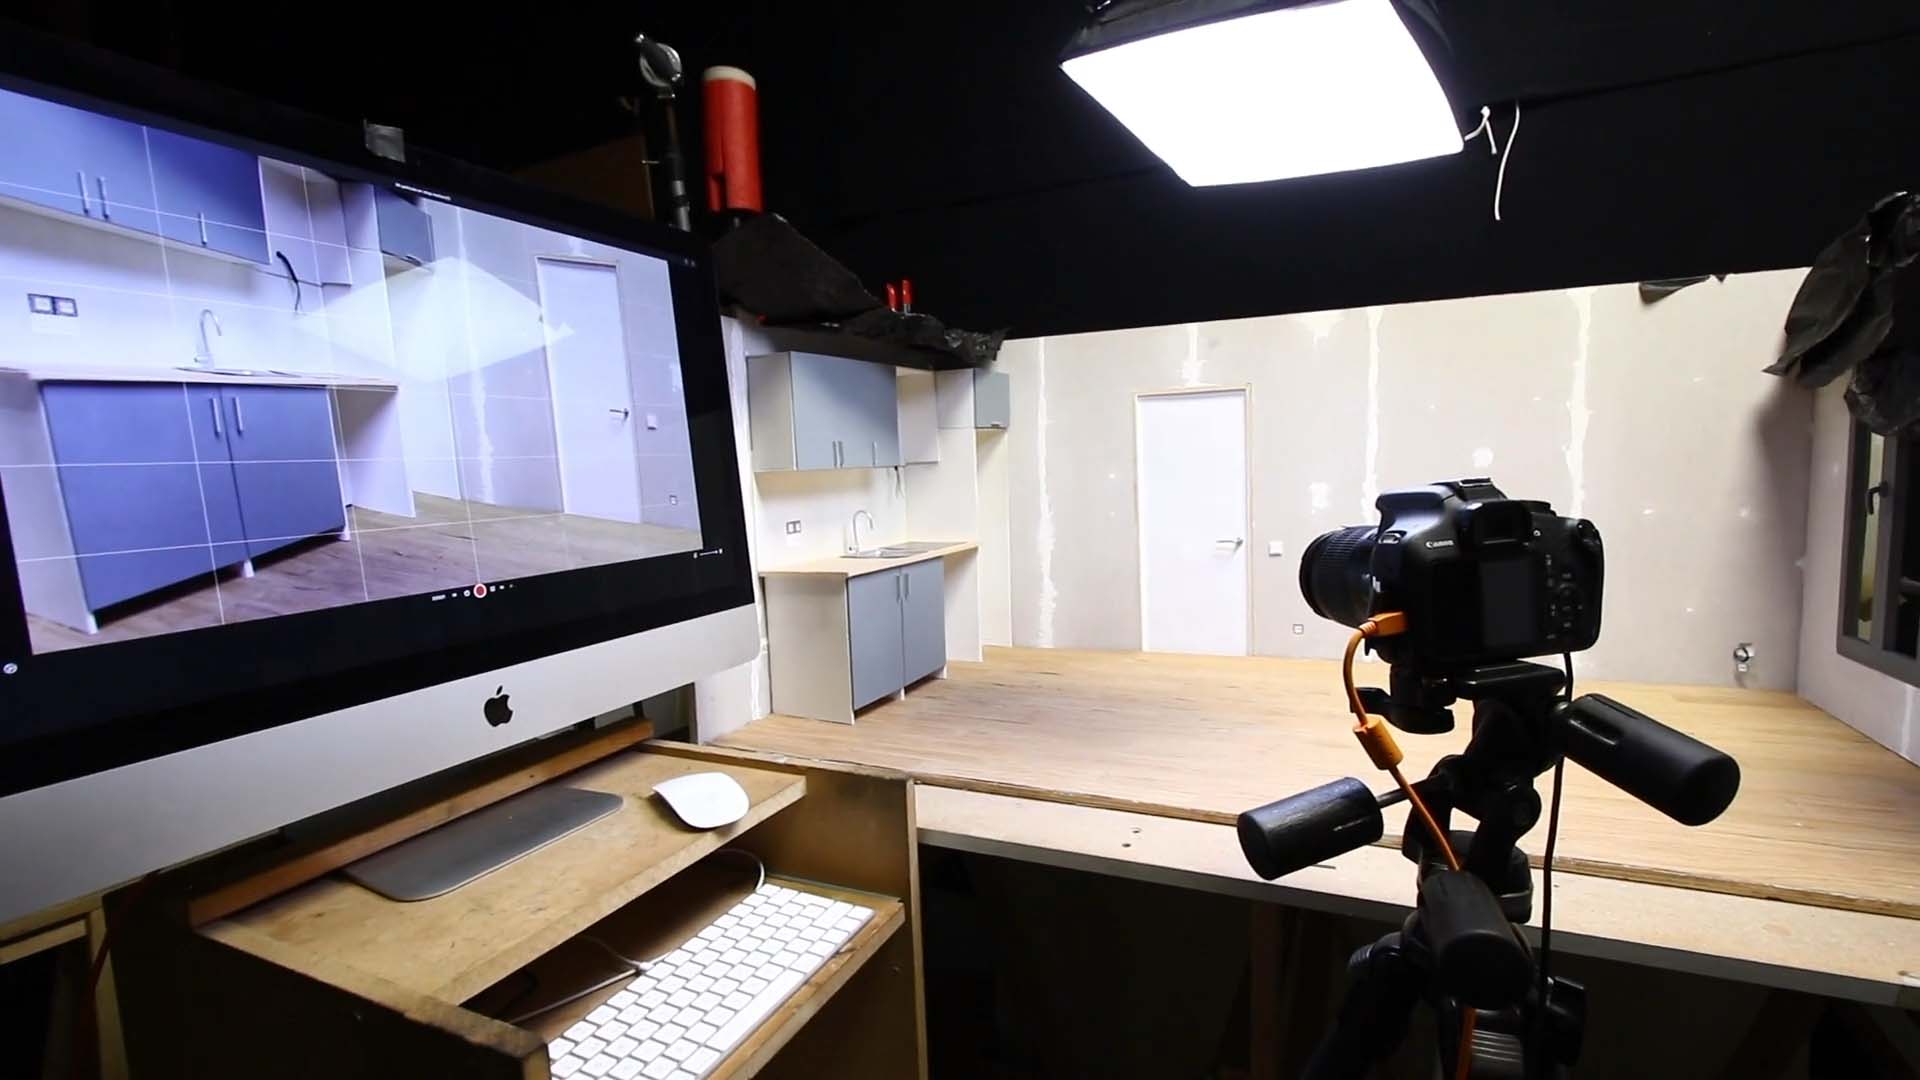
Elevate your animation projects by integrating a DSLR (digital single-lens reflex) camera into Stop Motion Studio. Whether your DSLR features live view output (EVF or electronic viewfinder) or not, you can leverage its advanced capabilities to enhance your animations. Follow these steps to seamlessly connect your DSLR camera to Stop Motion Studio:
Preparing Your DSLR Camera:
Connection Setup: Begin by connecting your DSLR camera to your device using a compatible USB cable. Refer to the manufacturer’s setup instructions to ensure a proper connection.
Camera Configuration: Set your DSLR camera to ‘Manual’ shooting mode to have full control over settings. Additionally, ensure that no other applications are accessing the camera simultaneously to avoid conflicts.
Integrating with Stop Motion Studio:
Access Capture Settings: While in capture mode, navigate to the capture settings menu by pressing the capture settings button
.
Select Your Camera: Within the capture settings menu, choose your DSLR camera from the capture source menu
. Please allow up to a minute for Stop Motion Studio to detect and configure the camera.
Live View and Adjustment: If your DSLR supports live view, you’ll see a real-time image feed from the camera within the capture frame. Take advantage of this feature to frame your shots precisely. Additionally, adjust your camera’s shutter speed, aperture, and ISO settings directly from the capture source settings for optimal control over image quality.
Troubleshooting and Support:
Technical Assistance: If you encounter any issues during setup, visit our troubleshooting guide for solutions to common issues.
Supported Cameras: Check our support page for a comprehensive list of DSLR cameras compatible with Stop Motion Studio.
—
DSLR camera support is not yet available on Android, iPhone and iPad.